Recover a failed TimeMachine backup
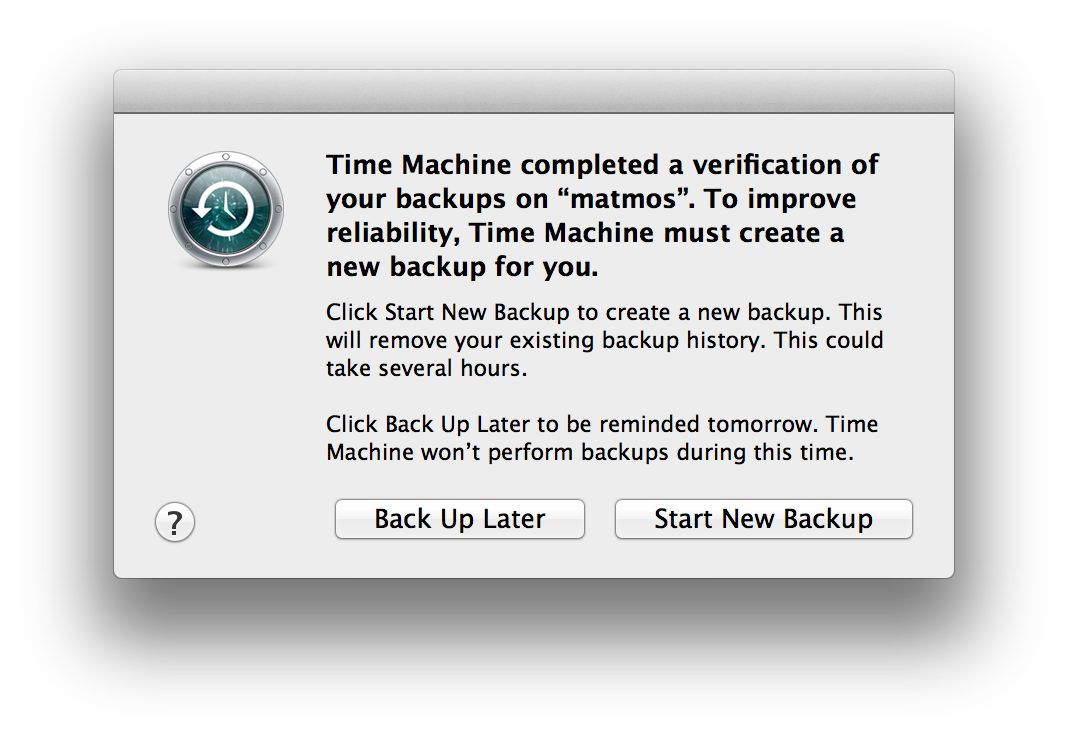
I recently received an unpleasant warning message after TimeMachine routinely tried to perform a backup:
Time Machine completed a verification of your backups on “matmos”. To improve reliability, Time Machine must create a new backup for you. Click Start New Backup to create a new backup. This will remove your existing backup history. This could take several hours. Click Back Up Later to be reminded tomorrow. Time Machine won’t perform backups during this time.
Googling around for others with the same problem I found quite a few tips (like this one, or this one). The basic idea is to mount the sparsebundle image, run a disk check/repair, and hope for the best. In my case (as you will see in a bit), my sparsebundle appeared to be hosed. My options: lose my old backups or look for a way to recover the old backups. But first up, turn off TimeMachine, and then try to run a standard disk check.
Run disk check/repair
Unlock and mount the TimeMachine sparsebundle from the already-mounted server share (of course your server name, network share, sparsebundle names will not be the same as mine):
$ sudo chflags nouchg /Volumes/TimeMachine-David/fünke.sparsebundle
$ sudo chflags nouchg /Volumes/TimeMachine-David/fünke.sparsebundle/token

$ sudo hdiutil attach -nomount -noverify -readwrite -noautofsck /Volumes/TimeMachine-David/fünke.sparsebundle
/dev/disk2          	GUID_partition_scheme
/dev/disk2s1        	EFI
/dev/disk2s2        	Apple_HFS
The disk check utility
fsckmay now be running, so get the PID of it and kill the process so we can manually run it:$ ps auxwww | grep fsck $ kill PIDNow run
fsckwith some repair options on the correct disk partition (use the “Apple_HFS” partition as listed in the mount step above (/dev/disk2s2in my example):$ sudo fsck_hfs -dryf /dev/disk2s2 journal_replay(/dev/disk2s2) returned 0 ** /dev/rdisk2s2 Using cacheBlockSize=32K cacheTotalBlock=65536 cacheSize=2097152K. Executing fsck_hfs (version diskdev_cmds-557~393). ** Checking Journaled HFS Plus volume. Invalid number of allocation blocks (4294967295, 0) IVChk - volume header total allocation blocks is greater than device size volume allocation block count 102374400 device allocation block count 97630464 ** The volume could not be verified completely. volume check failed with error 7 volume type is pure HFS+ primary MDB is at block 0 0x00 alternate MDB is at block 0 0x00 primary VHB is at block 2 0x02 alternate VHB is at block 781043710 0x2e8dc7fe sector size = 512 0x200 VolumeObject flags = 0x07 total sectors for volume = 781043712 0x2e8dc800 total sectors for embedded volume = 0 0x00 CheckHFS returned -1317, fsmodified = 1The disk check did not do anything, so let’s unmount the sparsebundle:
$ sudo hdiutil detach /dev/disk2s2You can try running the disk check (fsck) multiple times. Some have reported that does the trick! In my case, it didn’t help. I had to try something else.
What to do next?
So, “The volume could not be verified completely” says that disk check is not going to repair my sparsebundle. But one good thing to note: the sparsebundle can be mounted read-only, so the old backups should still be there. So the plan: make a new sparsebundle, mount it, mount the old sparsebundle, and then copy all files from the old sparsebundle into the new. Sounds easy, right?
Making a new sparsebundle is not rocket science, however copying the files from TimeMachine backups can be quite challenging. I learned quite a bit when trying various methods to copy the files across (Finder, cp, rsync, ditto, etc). TimeMachine is quite ingenious: it uses a combination of file hard links and directory hard links (the latter is a new one to me!) in order to keep the backup size at a mininum. Unfortunately, all the methods I tried could not reconcile the directory hard links: instead of the links being created, the actual directory contents were copied. Furthermore, Apple has made it difficult to work directly with files in TimeMachine backups by making use of sandboxing and an access control “safety net” (see this or this). So I did some more digging and found a great product that can deal with TimeMachine backups, directory hard links, and this safety net: SuperDuper.
Recover contents of failed sparsebundle
Move failed sparsebundle to a new location
I tried restoring the failed sparsebundle to a new sparsebundle while both were on a network drive (connected to my machine via gigabit ethernet) and the backup was painfully slow (wasn’t finished after 24 hours) meaning the bottleneck was random access/seek time of my poor, slow network drives. I cancelled the restore operation, moved the failed sparsebundle to an external USB drive.
Create new sparsebundle
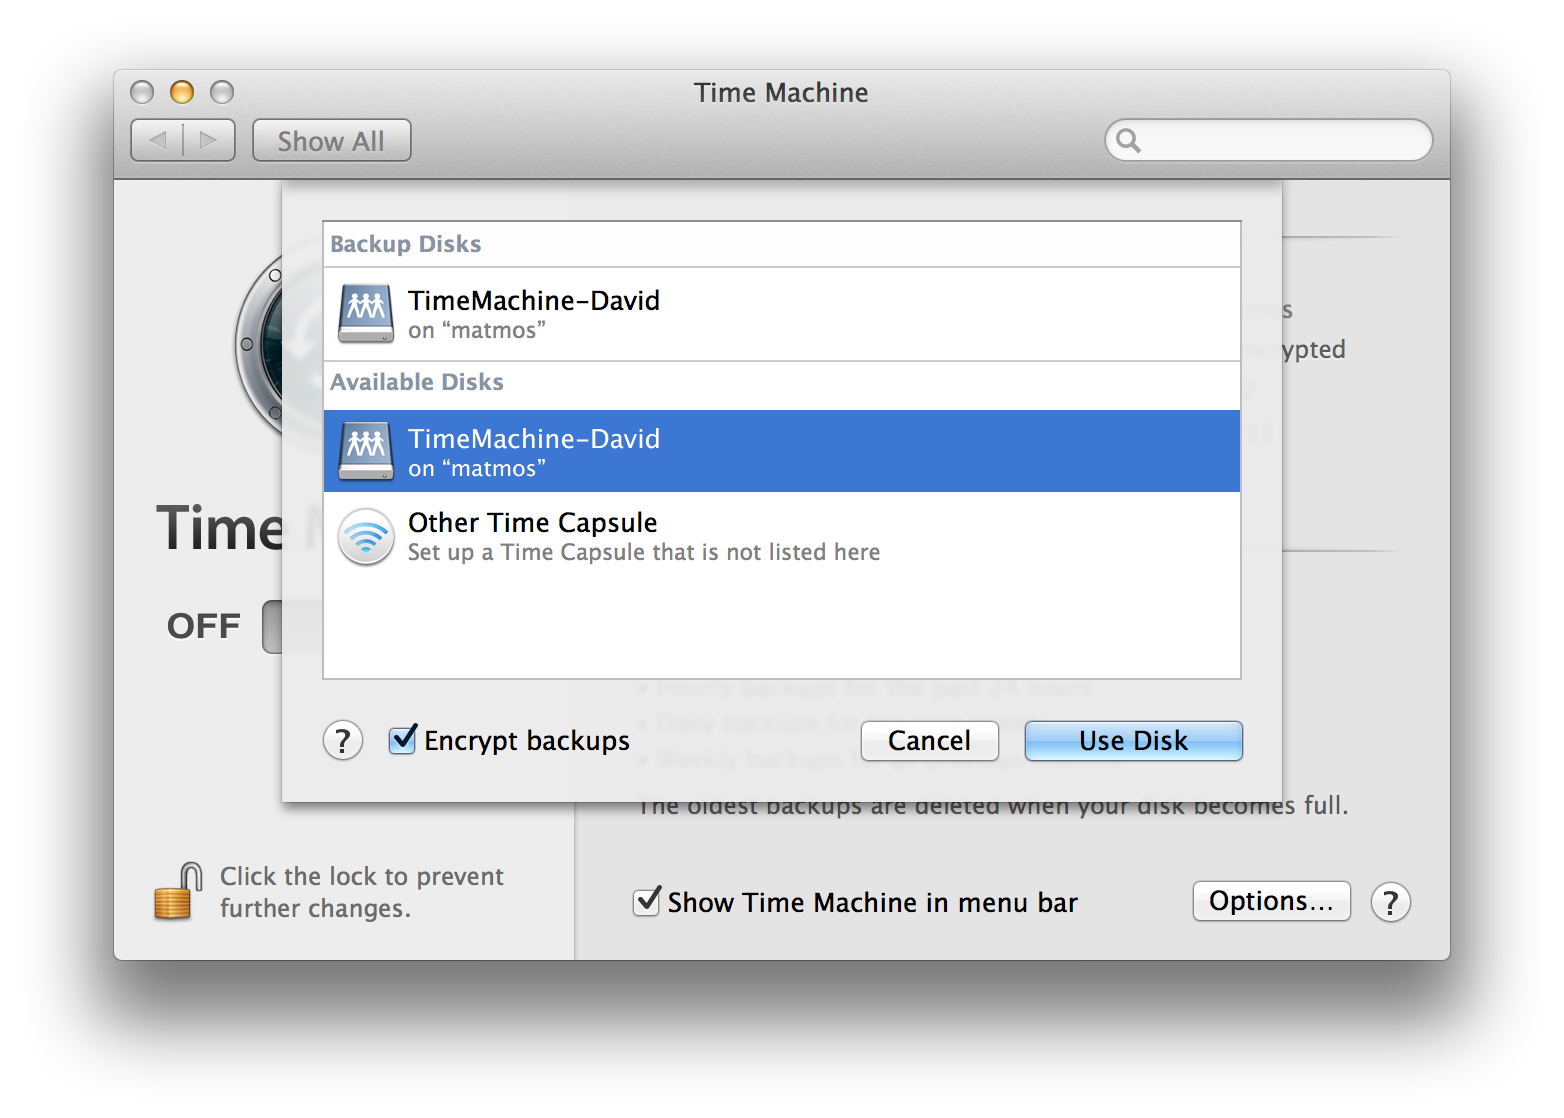
With the failed sparsebundle no longer in my TimeMachine network share, I created a new sparsebundle. Since I encrypt my backups, I used TimeMachine to create a new sparsebundle on the network share:
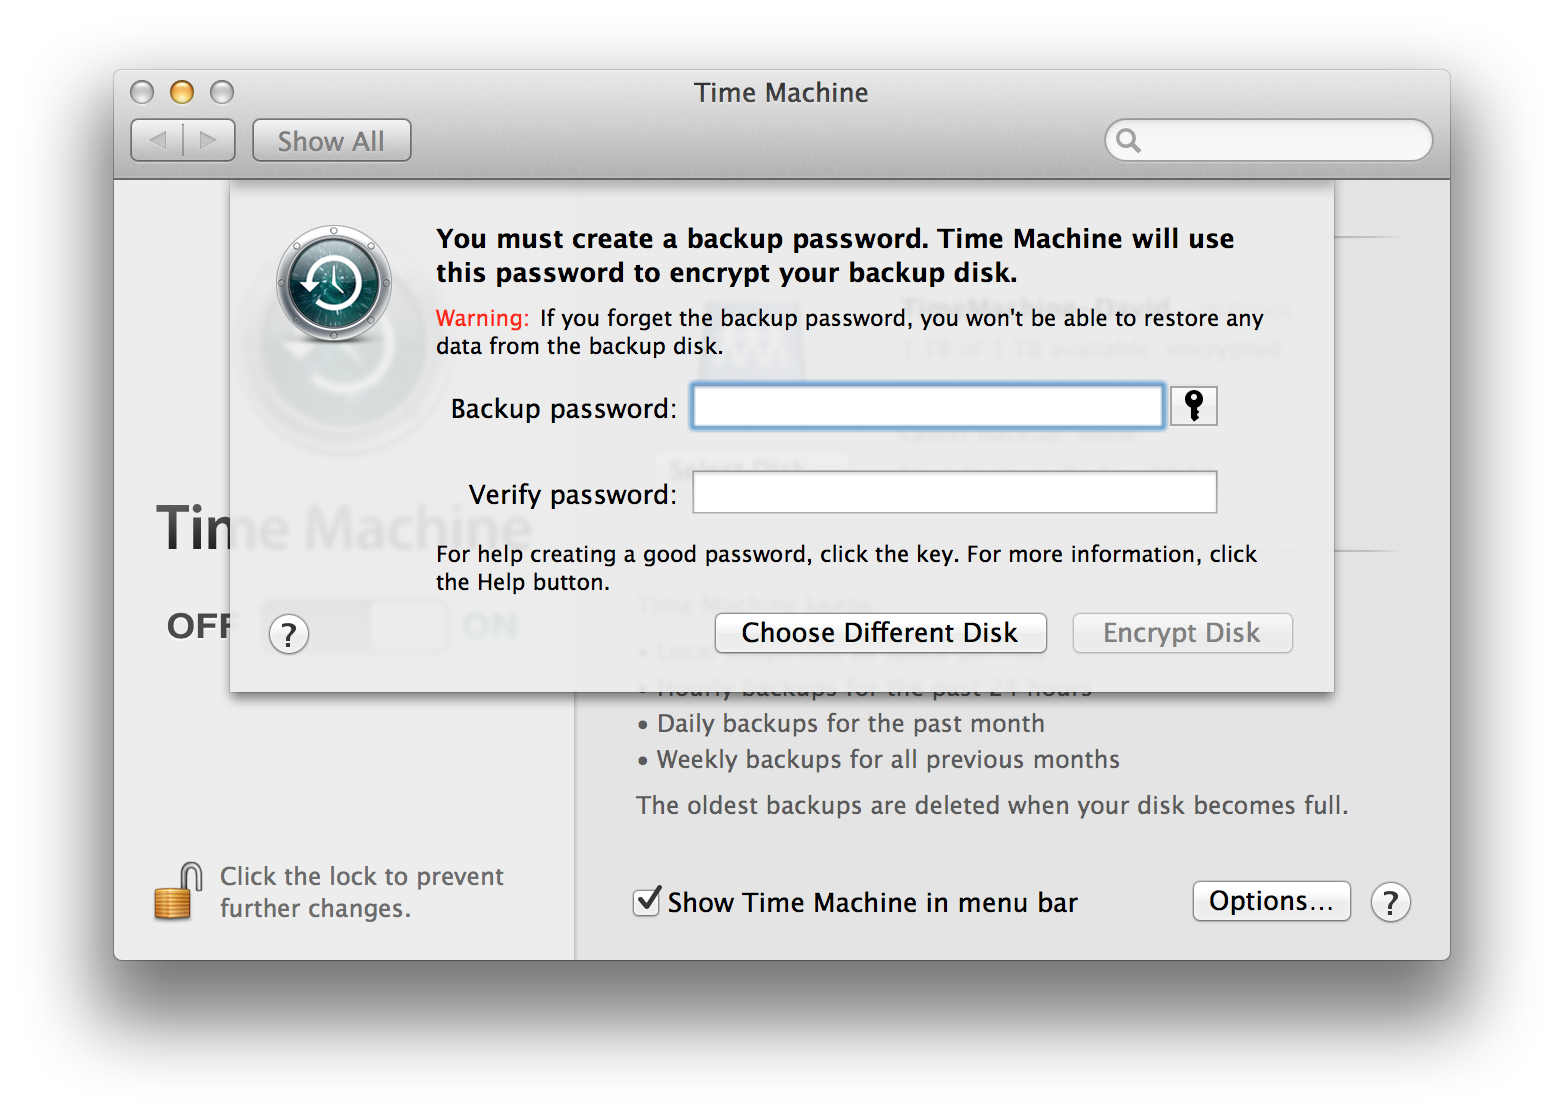
Enable TimeMachine, select the network share, select “encrypt backups”, then “use disk”
Provide encryption password:
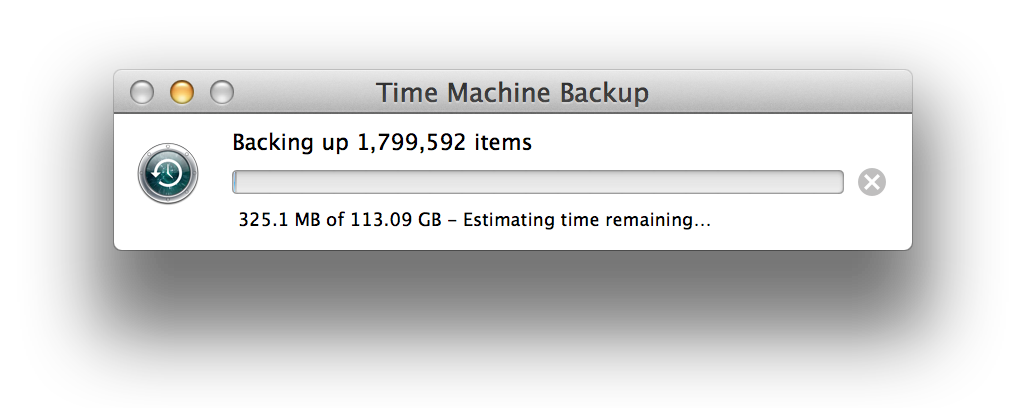
Let the backup run, then cancel after a few minutes. This will create a new sparsebundle on the network share.
Mount both sparsebundles
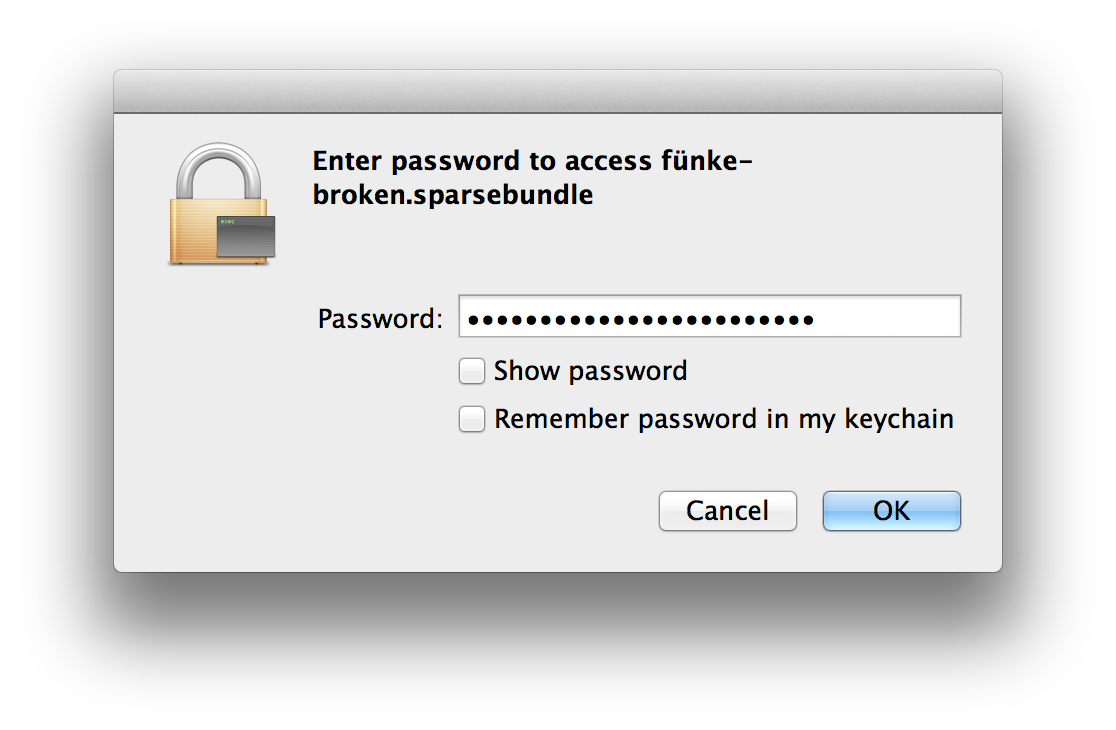
Mount the failed sparsebundle (from the external/USB drive). Unfortunately, you can’t use the paste command in the encryption password field :(
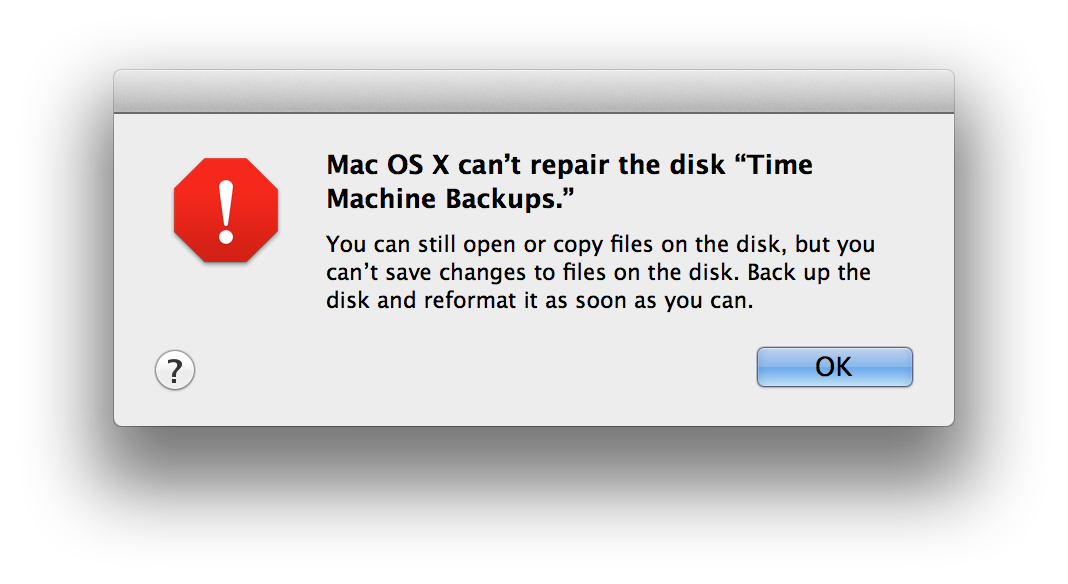
Note that the sparsebundle will be mounted read-only (which is just fine):
Now that both sparsebundles are mounted and have the same name (Time Machine Backups), we need to make sure we know which is the source (external drive) and which is the destination (network share). A little commandline magic:
$ mount
...
/dev/disk4s2 on /Volumes/Time Machine Backups (hfs, local, nodev, nosuid, read-only, mounted by david)
/dev/disk5s2 on /Volumes/Time Machine Backups 1 (hfs, local, nodev, nosuid, journaled, mounted by david)
So, “Time Machine Backups” is the source (it’s read-only) and “Time Machine Backups 1” is the destination.
Copy files from the failed sparsebundle to the new sparsebundle
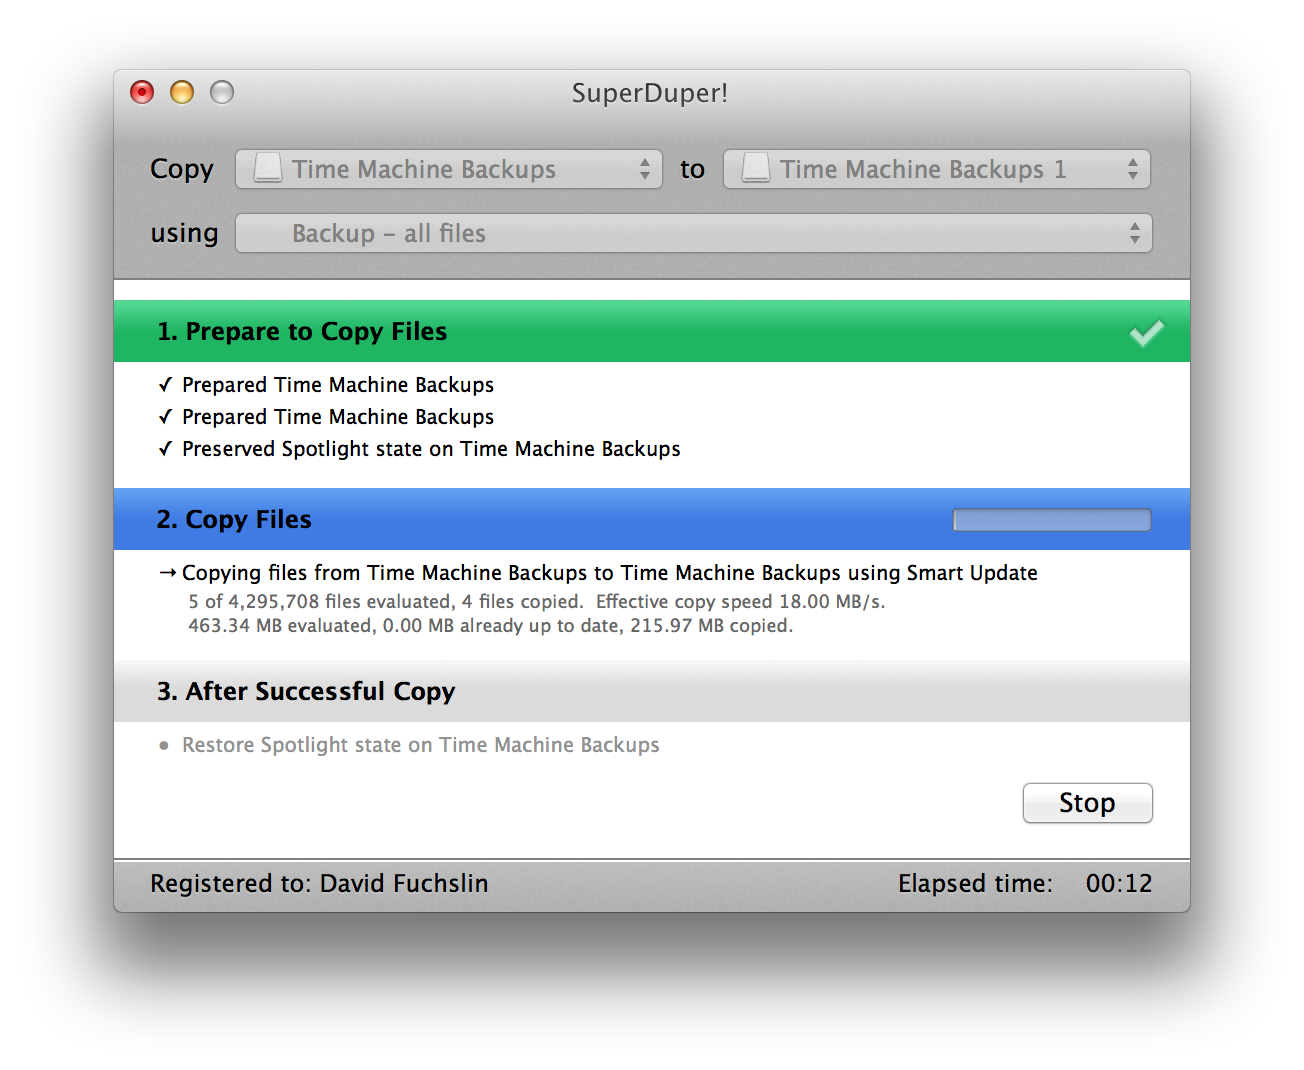
Open “SuperDuper!” Select copy: “Time Machine Backups"to: “Time Machine Backups 1” using: “Backup - all files”
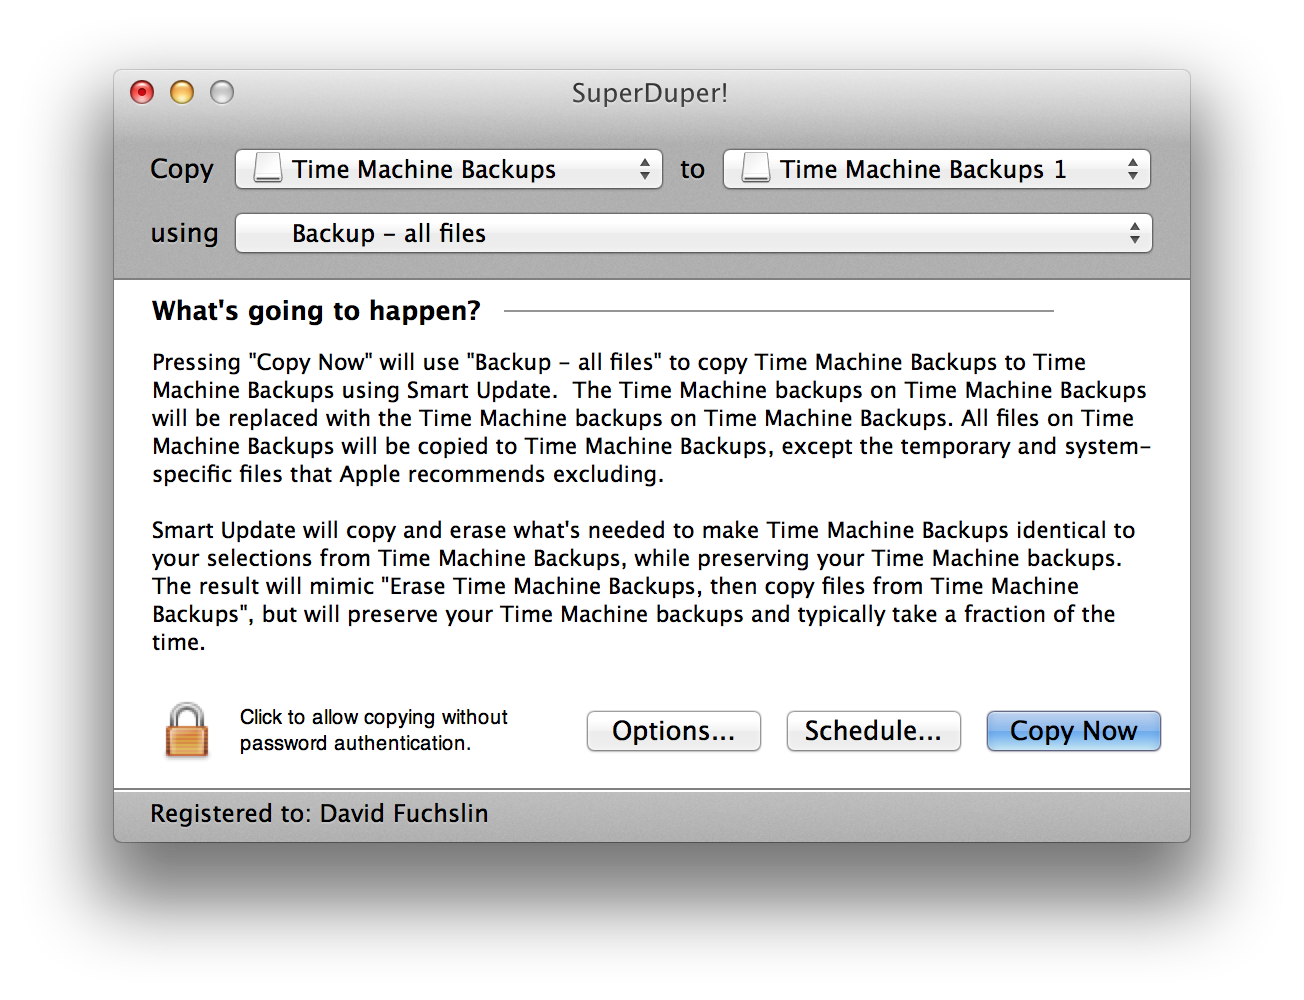
Select “Options…” and choose “Smart Update” (this prevents SuperDuper from reformatting the destination sparsebundle, ask me how i know ;) )
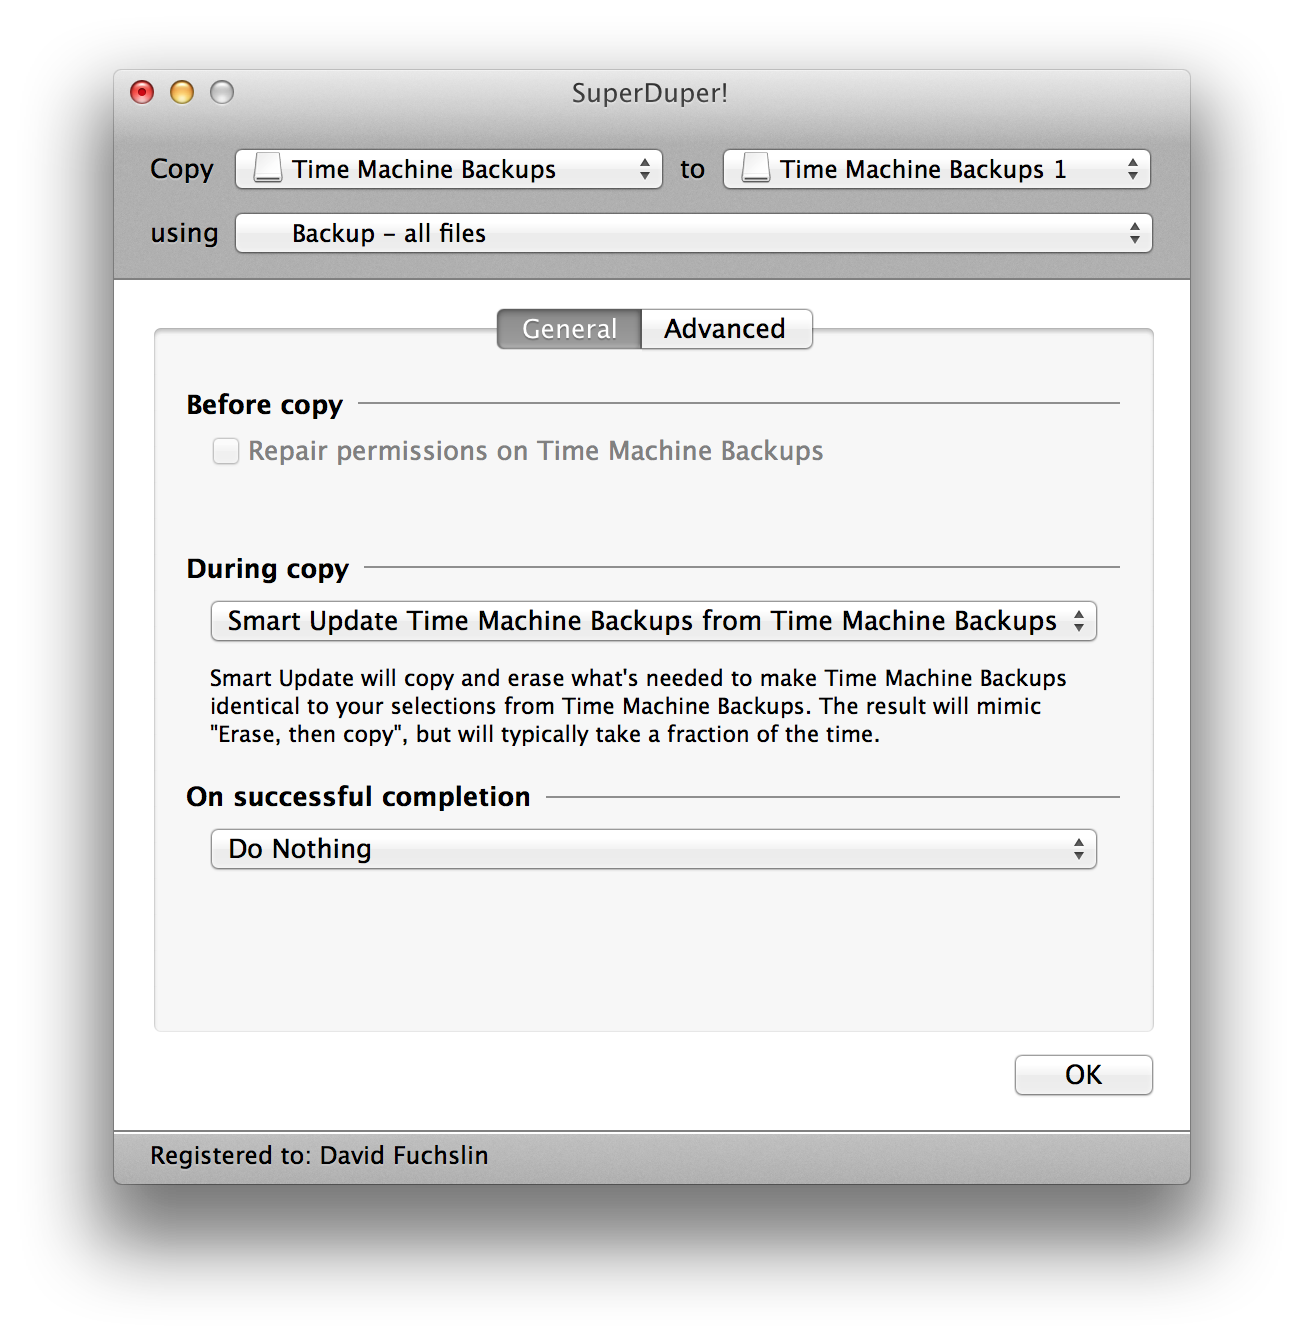
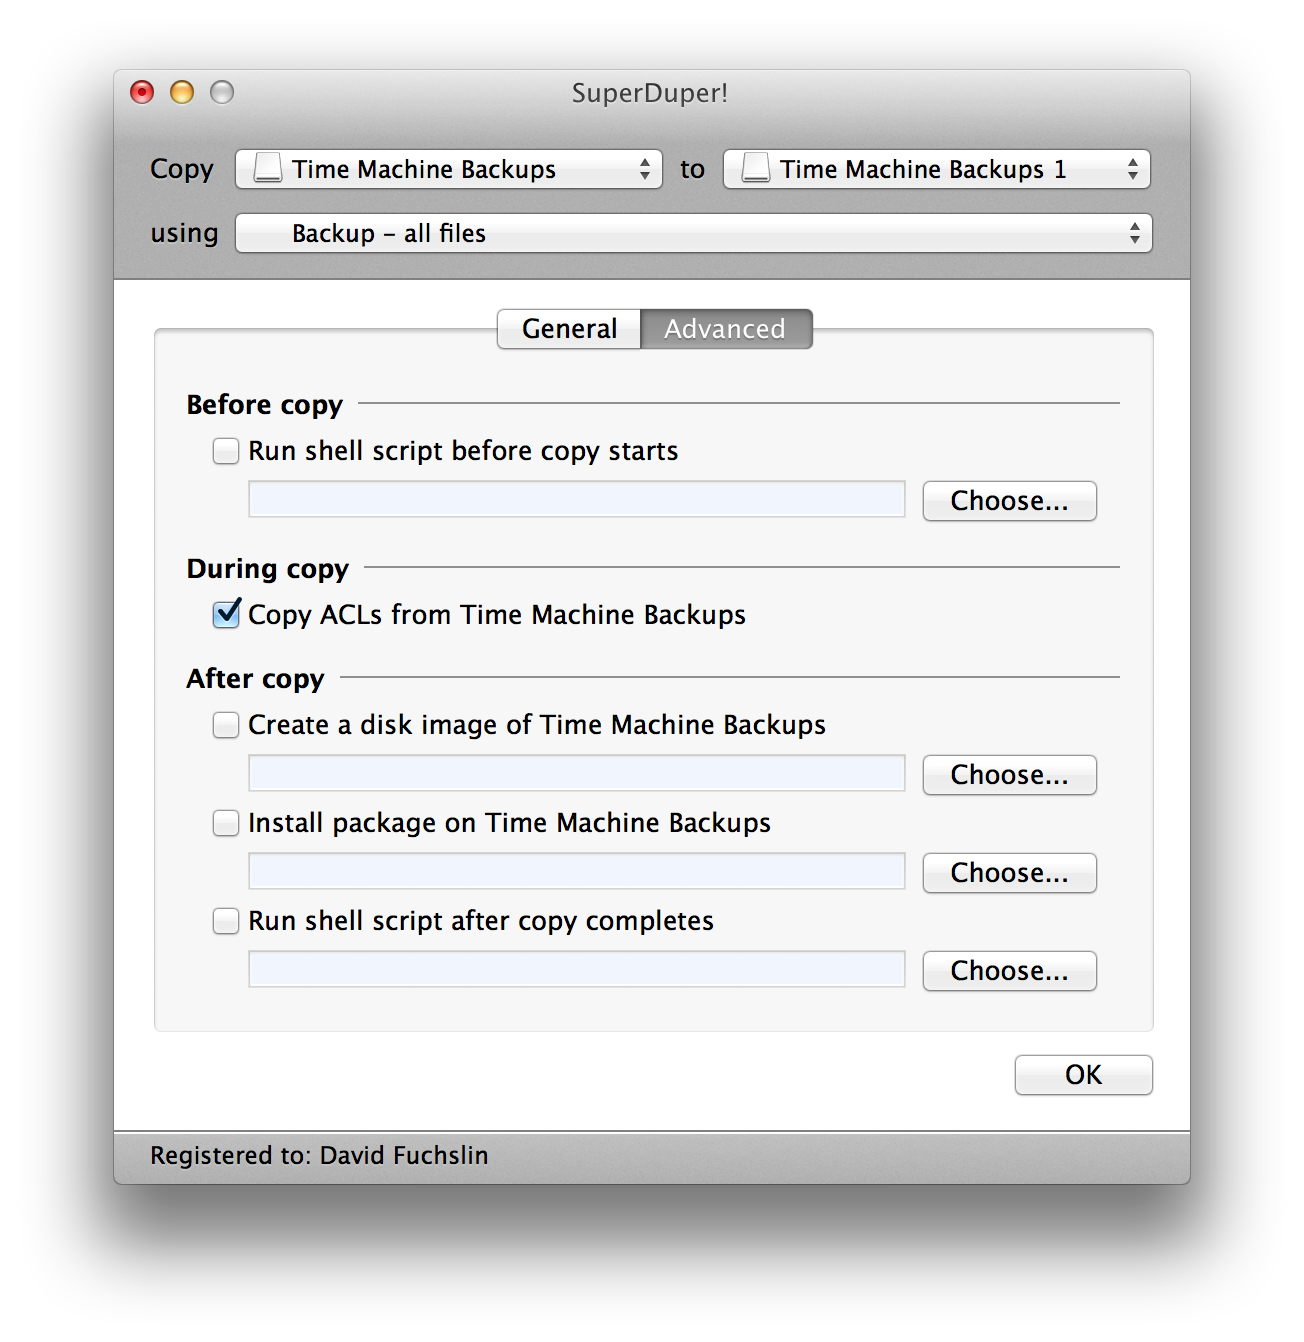
Advanced options are left as the default:
Start the copy process:
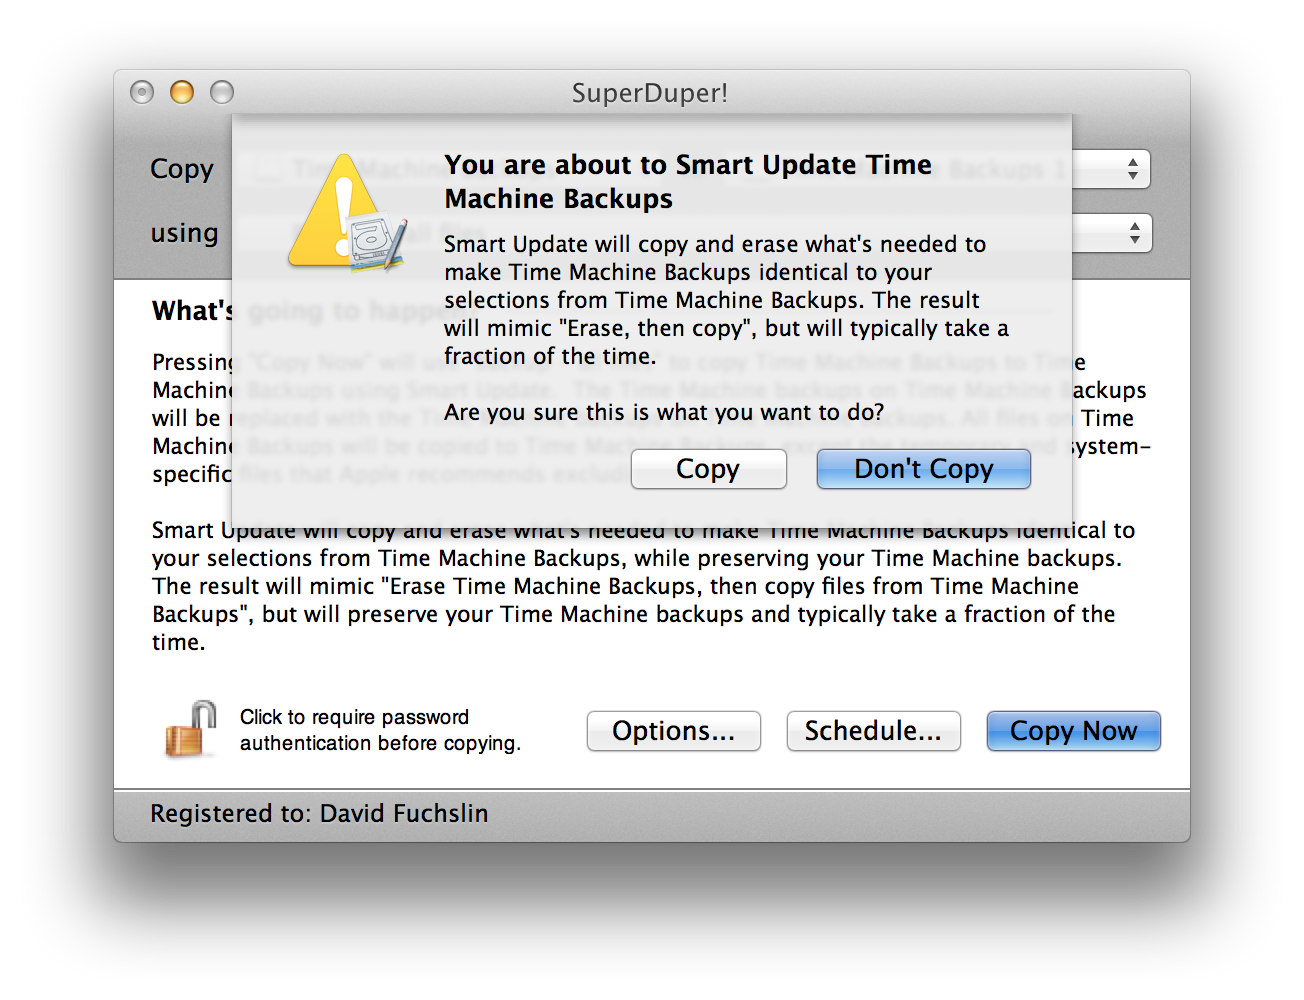
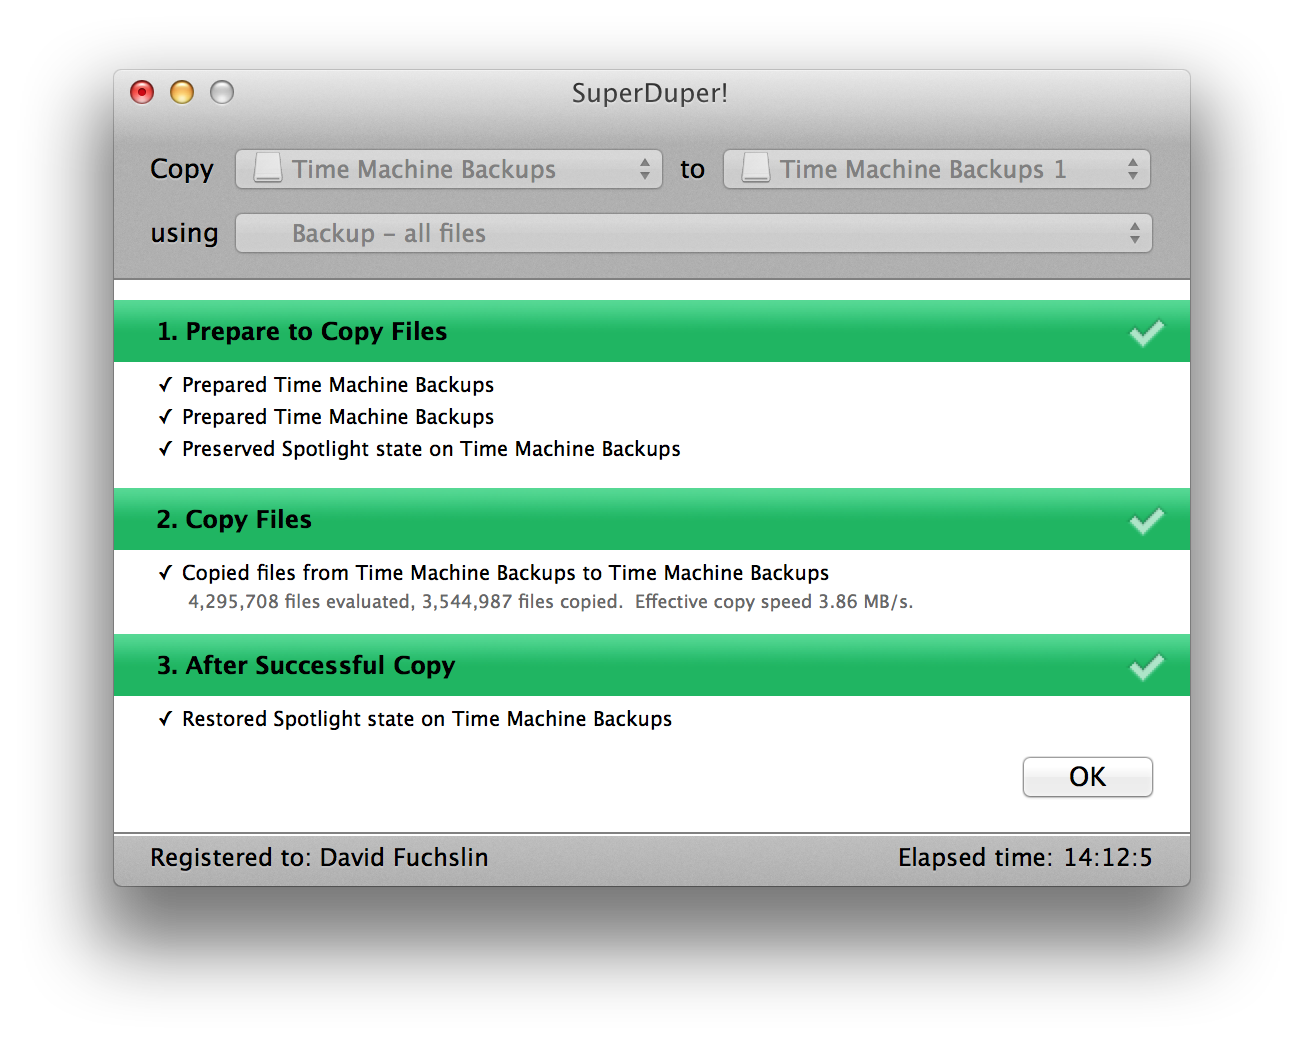
Let it run for a long time…
Enable TimeMachine
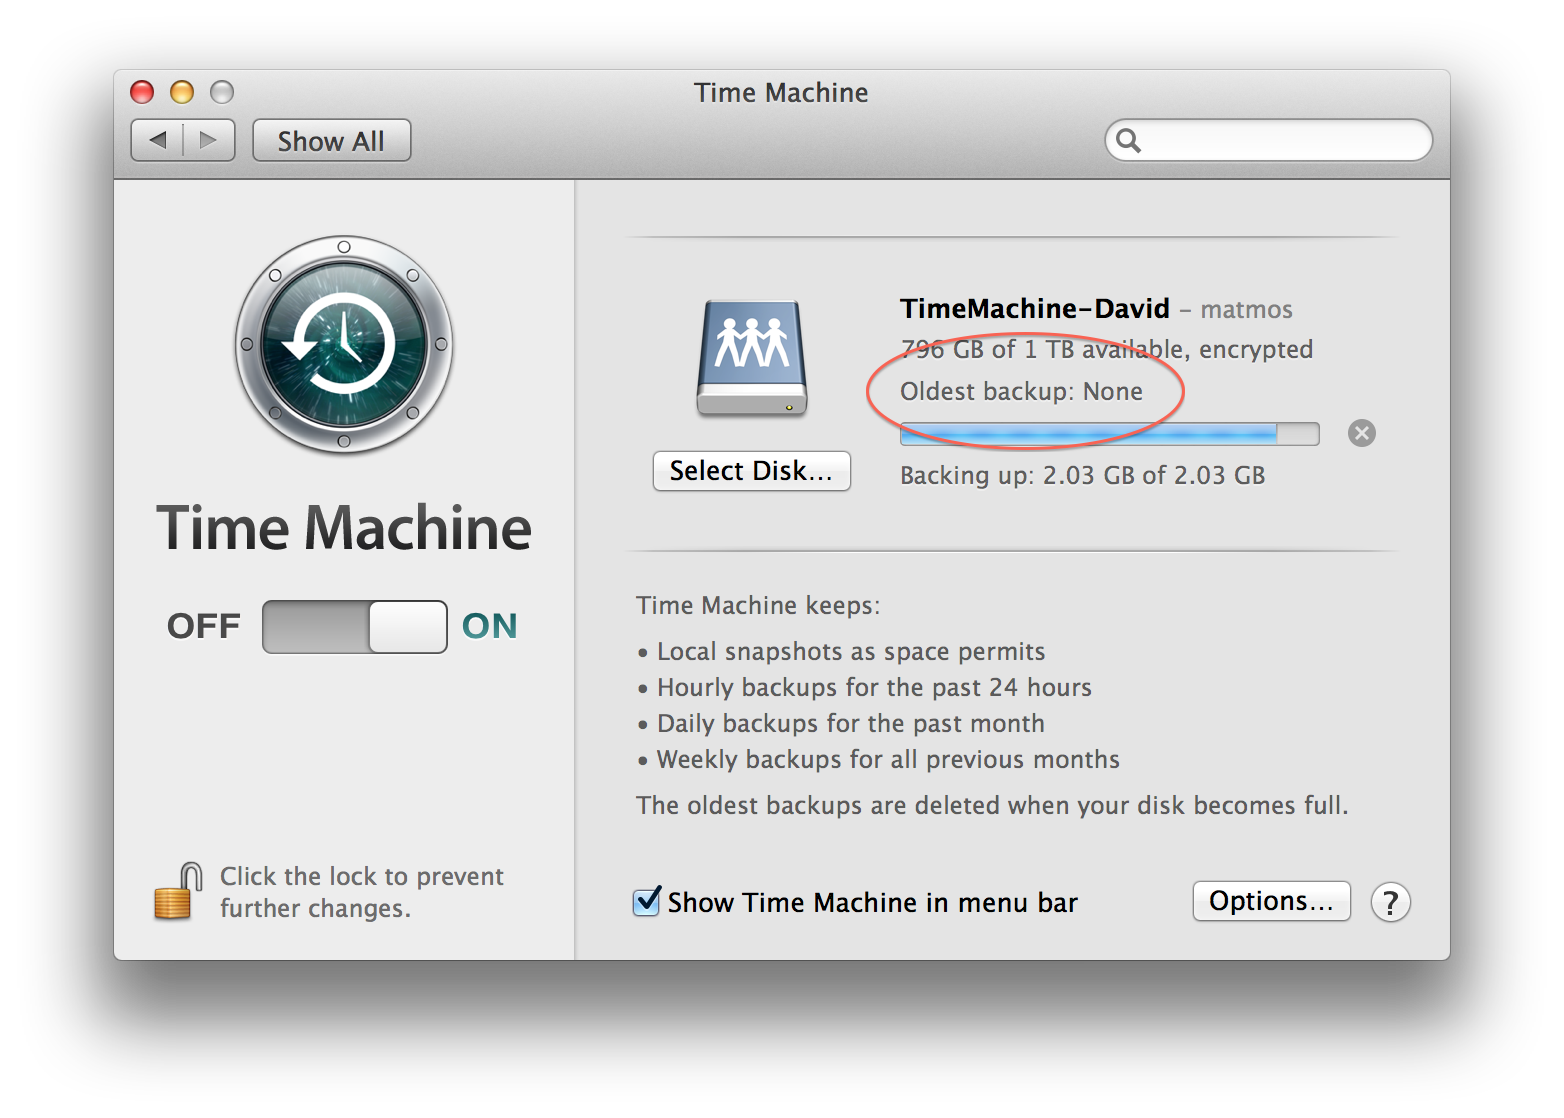
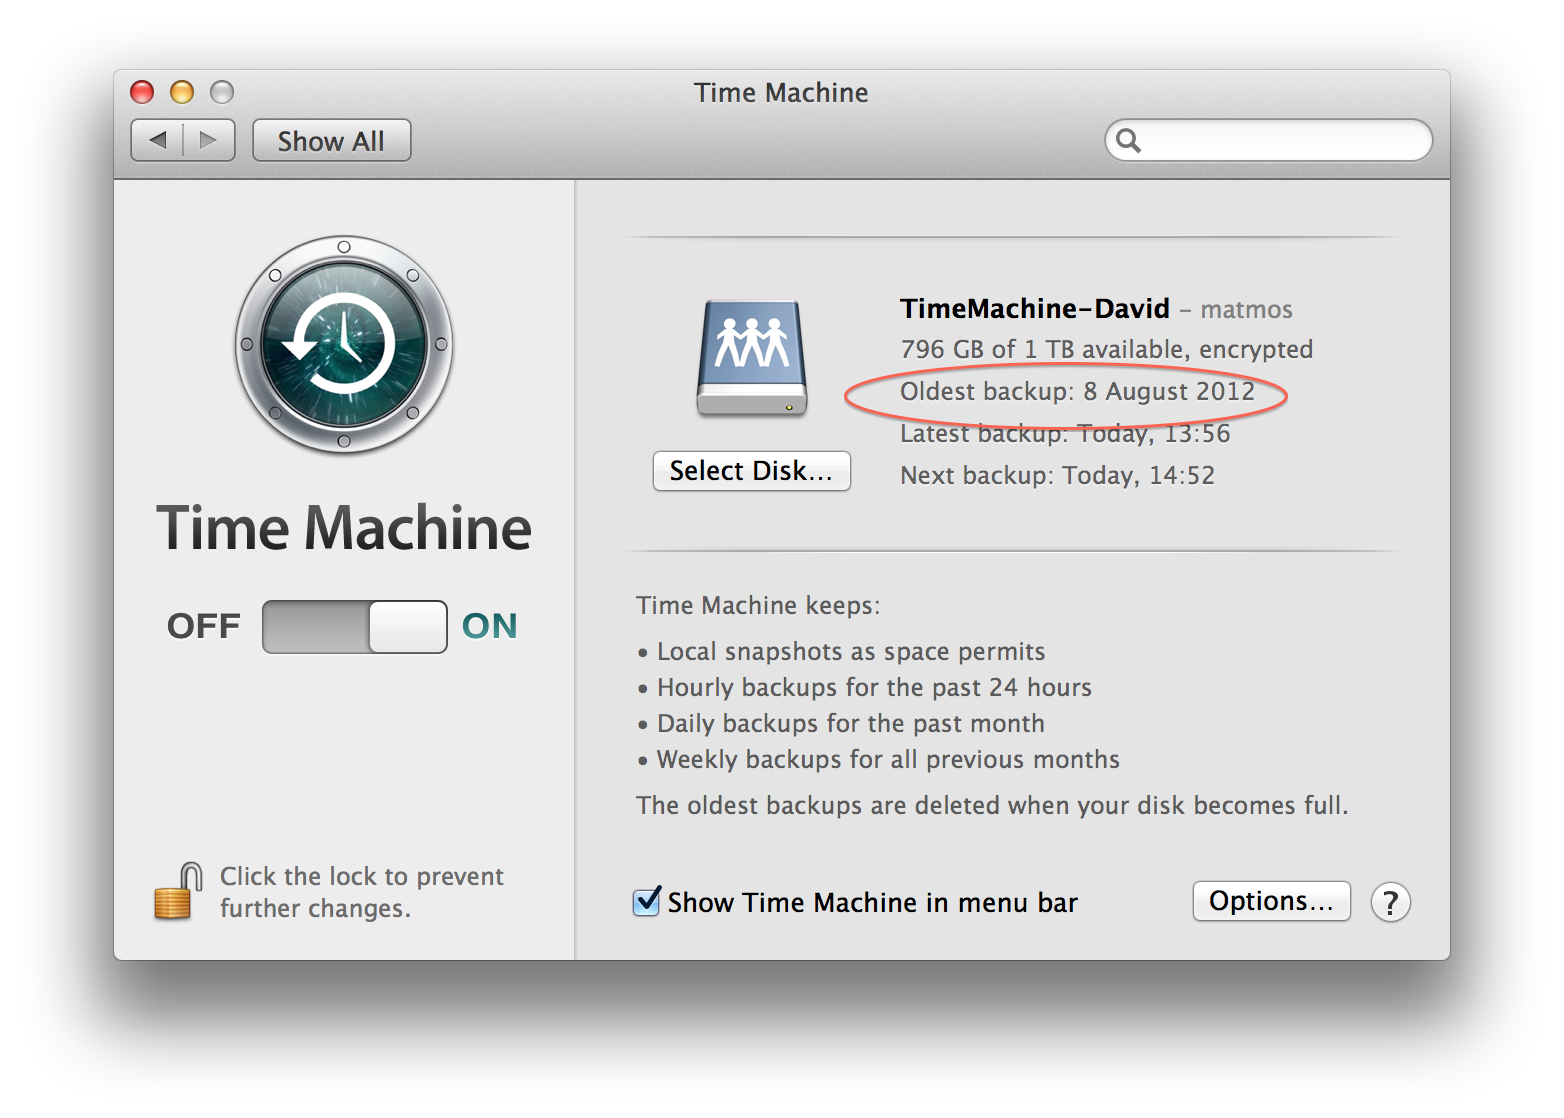
Enable TimeMachine and start the backups. When the backups first started, the “Oldest backup” date was not listed. But when the backup finished, TimeMachine successfully recognized the oldest backup. Success!
